
WHAT MAKES THE FINISH LOOK DIFFERENT
The Details Behind Straighter Lines and Smoother Surfaces
The final painted result is shaped by dozens of decisions made before and during coating. These are some of the details we evaluate and coordinate across the complete installation, finishing, primer, and paint process.
ONE COMPLETE DRYWALL-TO-PAINT SYSTEM
Framing Preparation • Drywall Installation • Level 4 or Level 5 Finishing • PVA Primer • Interior Paint
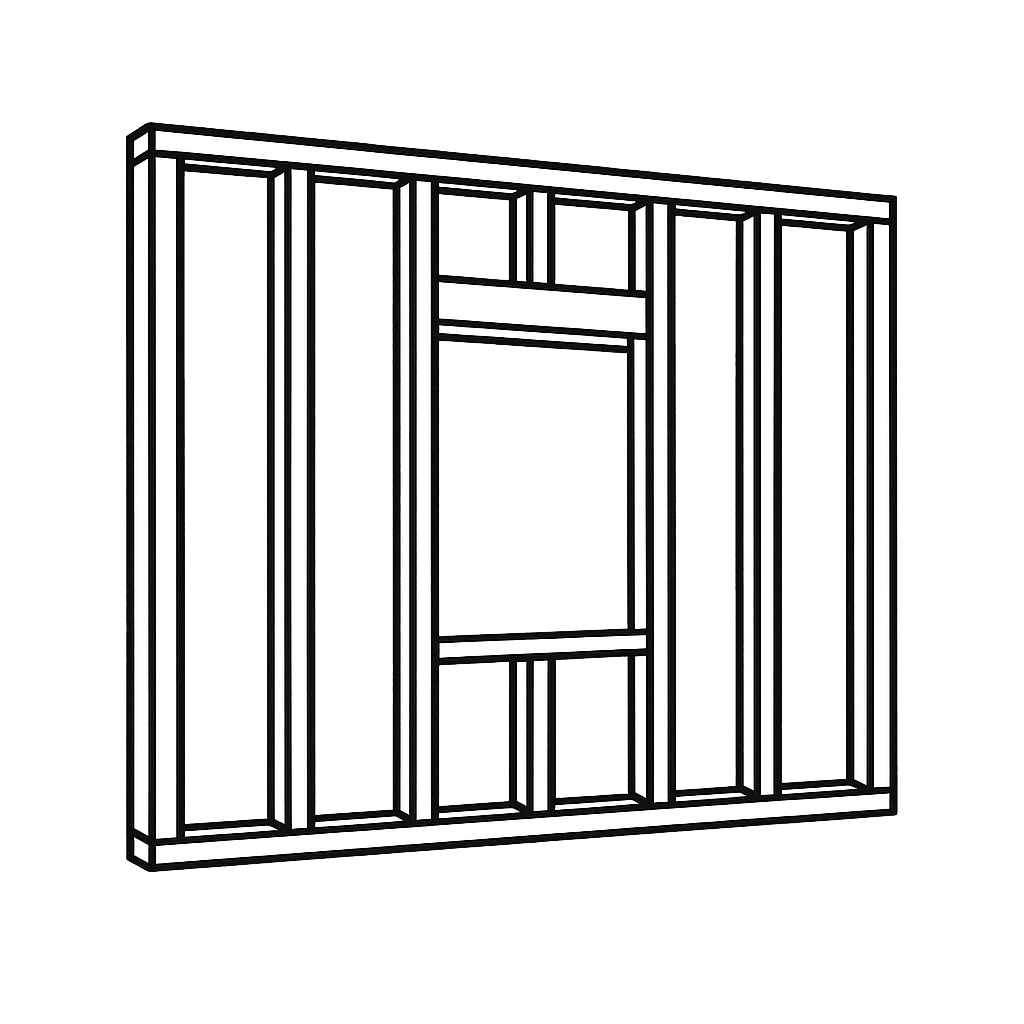
Framing Review Before Hanging
Visible framing irregularities can transfer through the drywall. We identify conditions that may require shimming, planing, backing, or a scope discussion before sheets are installed.

Proper Backing and Support
Drywall edges, transitions, openings, and details need reliable support. Where included, we add the backing necessary for secure installation and cleaner finishing.
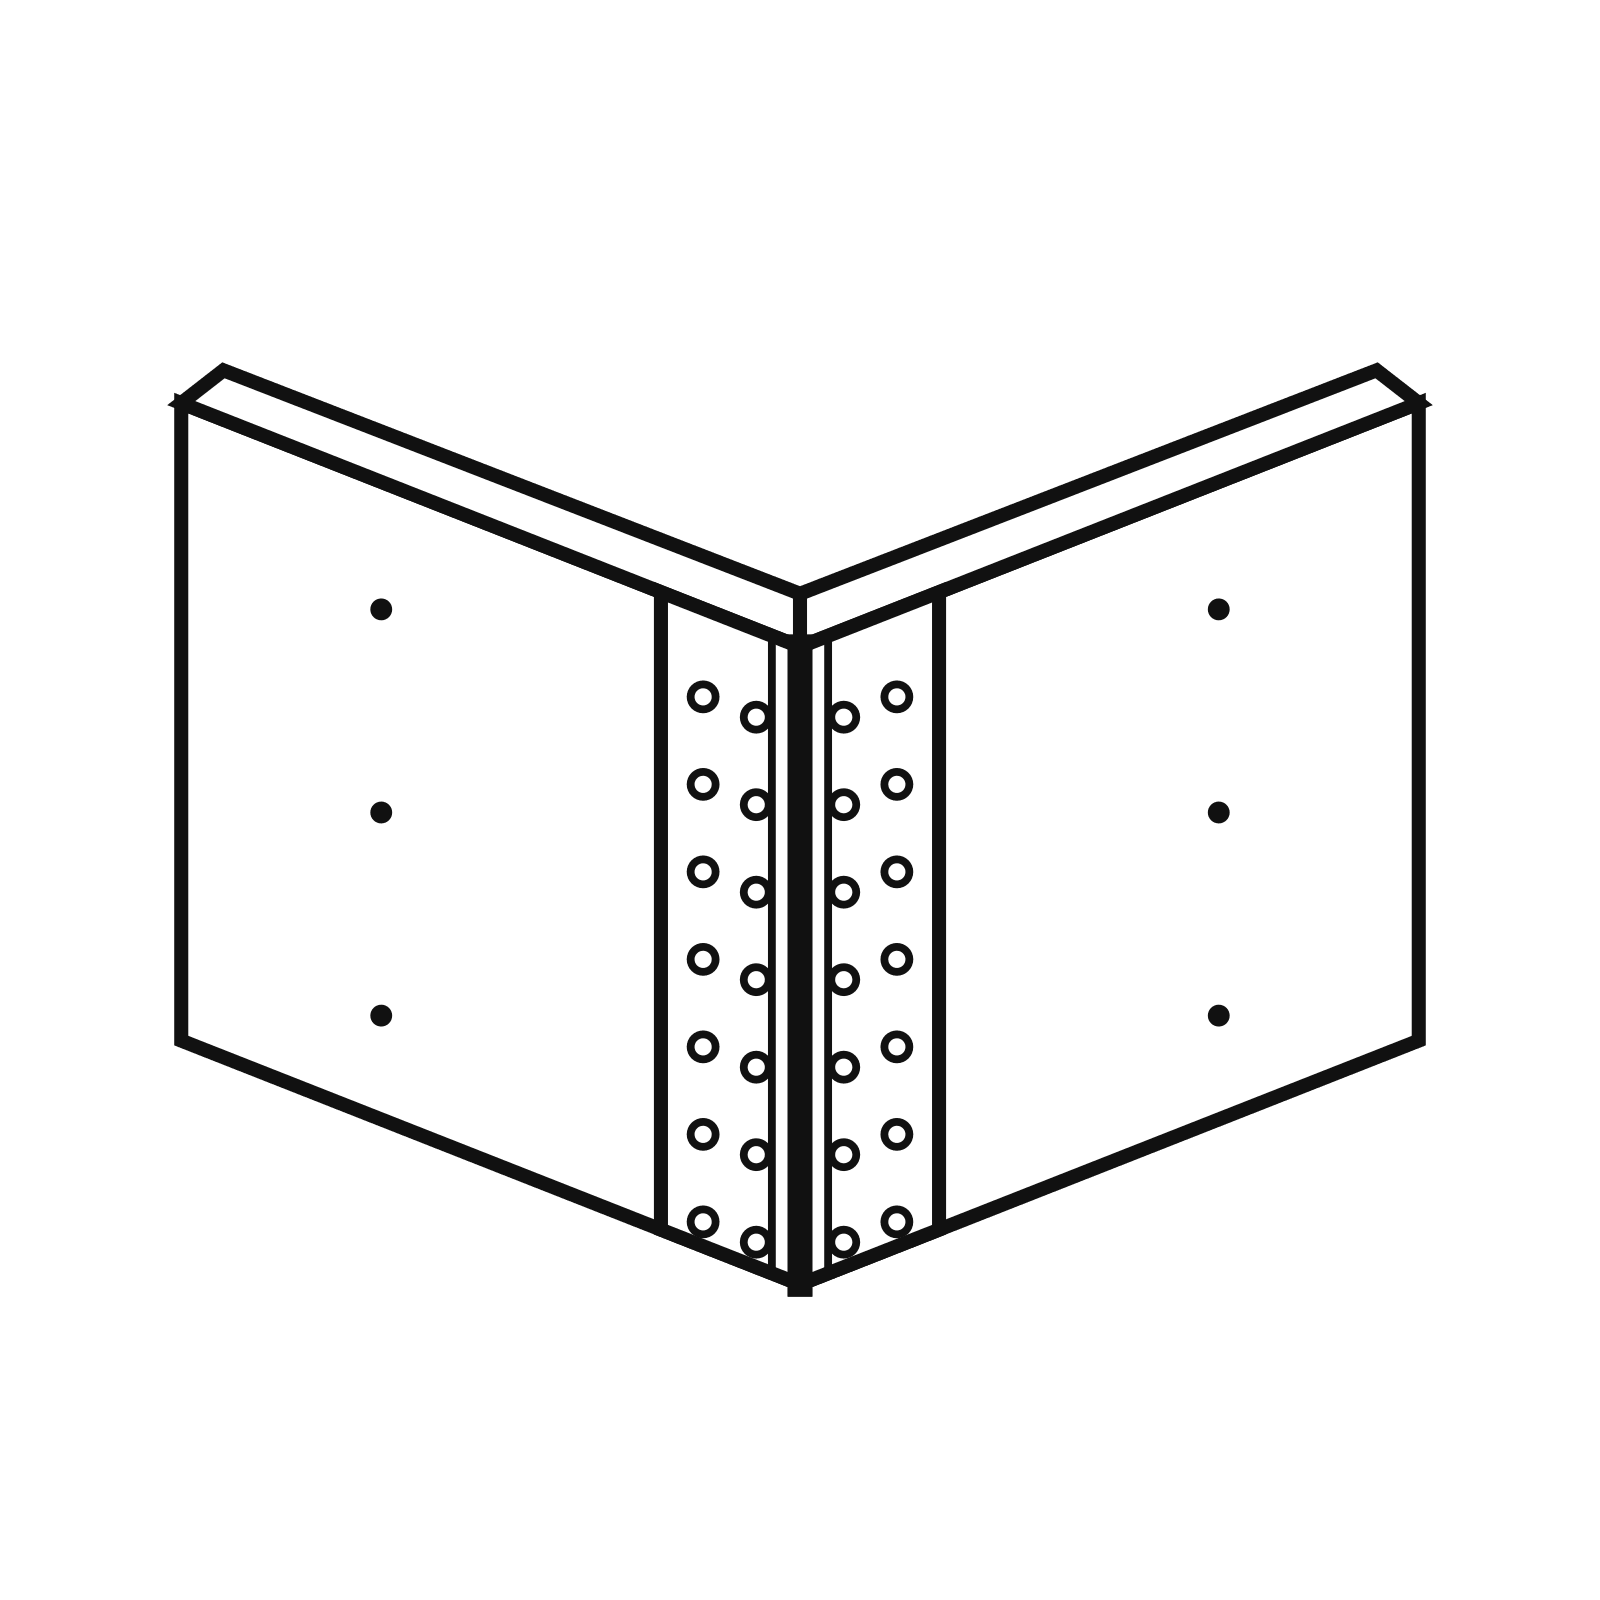
Clean Corners and Transitions
Corners, ceiling lines, soffits, wrapped openings, and architectural details are planned for straightness and consistency - not treated as an afterthought.
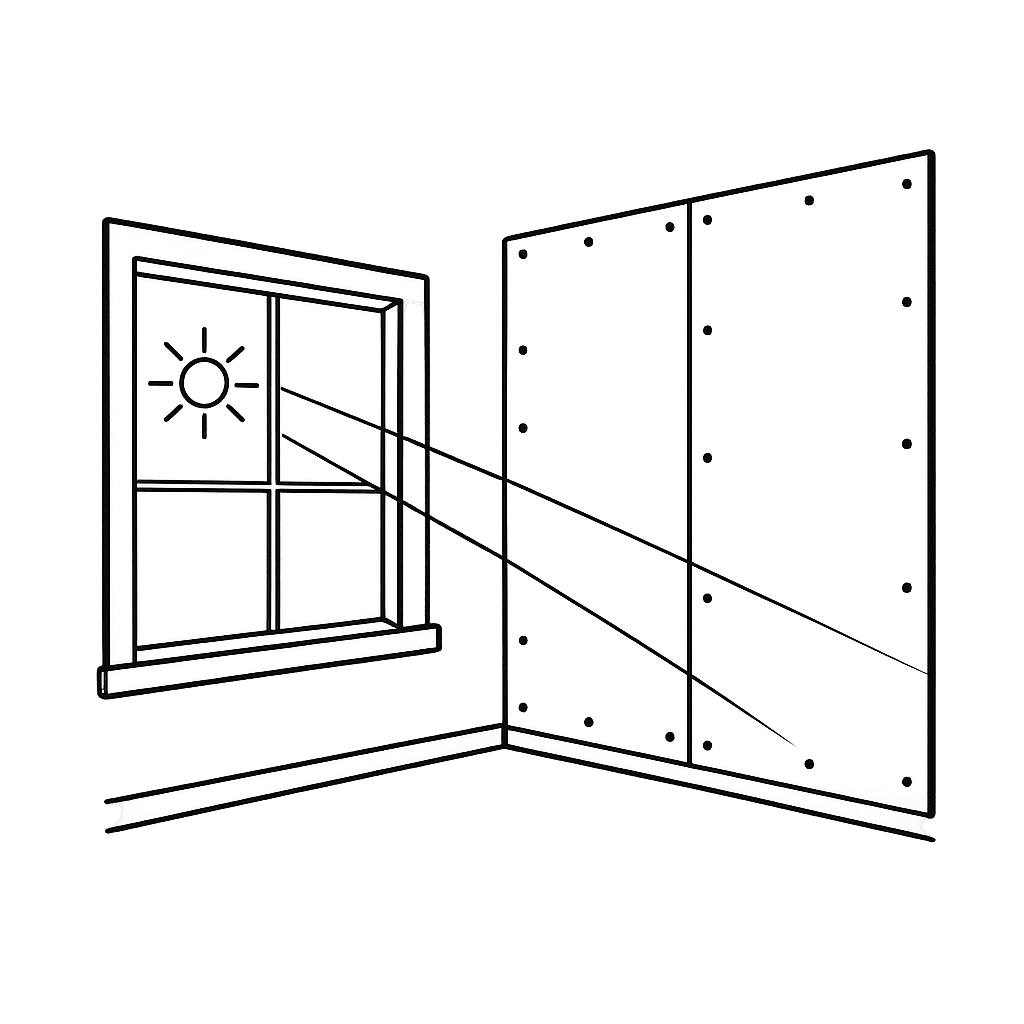
Finish Built for the Lighting
Natural light, recessed lighting, wall-wash lighting, and darker paint can reveal surface variation. We account for the visible conditions when discussing finish level and preparation.

Primer and Paint as One Finish System
New drywall and joint compound absorb coatings differently. We apply PVA primer, inspect and touch up the finish, then apply two coats of interior paint for consistent color, sheen, and coverage.

Protection and Daily Cleanup
We plan floor protection, containment, material staging, and cleanup around the home and project conditions so the work is managed professionally from start to finish.
FROM FIRST REVIEW TO FINAL PAINTED WALKTHROUGH
Our Basement Drywall Process: One Team Through Final Paint
We keep the scope, scheduling, and communication clear from the first project review through the final walkthrough. You will know what happens next, what is included, and who is responsible for completing your basement walls and ceilings.
Client Journey
What You Can Expect
1
Step 1: Share Your Basement Details
Submit the project type, ZIP code, approximate size, desired timing, and any available photos. Complete information helps us evaluate the project and determine the most useful next step.
2
Step 2: Review the Scope and Estimated Range
We review the submitted details, identify important questions, and confirm whether the project fits our basement drywall and refinishing services. When enough information is available, we can often begin with a phone estimate or preliminary cost range.
3
Step 3: Complete the Walkthrough and Written Proposal
If the estimated range works for your budget, we schedule an on-site walkthrough to verify dimensions, access, wall and ceiling conditions, finish expectations, and project requirements. We then provide a written proposal confirming the scope and final cost.
4
Step 4: Schedule and Complete the Work
After approval, we coordinate scheduling, materials, access, and protection. Our team then completes the specified preparation, drywall installation or skim coating, finishing, PVA primer, and interior painting.
Onsite Production Begins
5
Step 5: Final Painted Walkthrough and Closeout
We remove our job debris, inspect the completed walls and ceilings, review the work with you, and address covered final touch-ups before closeout. Your completed work is supported by our 12-month craftsmanship warranty.
i
SCHEDULING NOTE
Drywall compounds, primer, and paint require proper drying time. The schedule accounts for project size, site conditions, ventilation, finish level, coating requirements, and quality-control inspections.
BASEMENT DRYWALL CONTRACTOR | KING & SNOHOMISH COUNTY
Basement Drywall Installation & Wall Refinishing
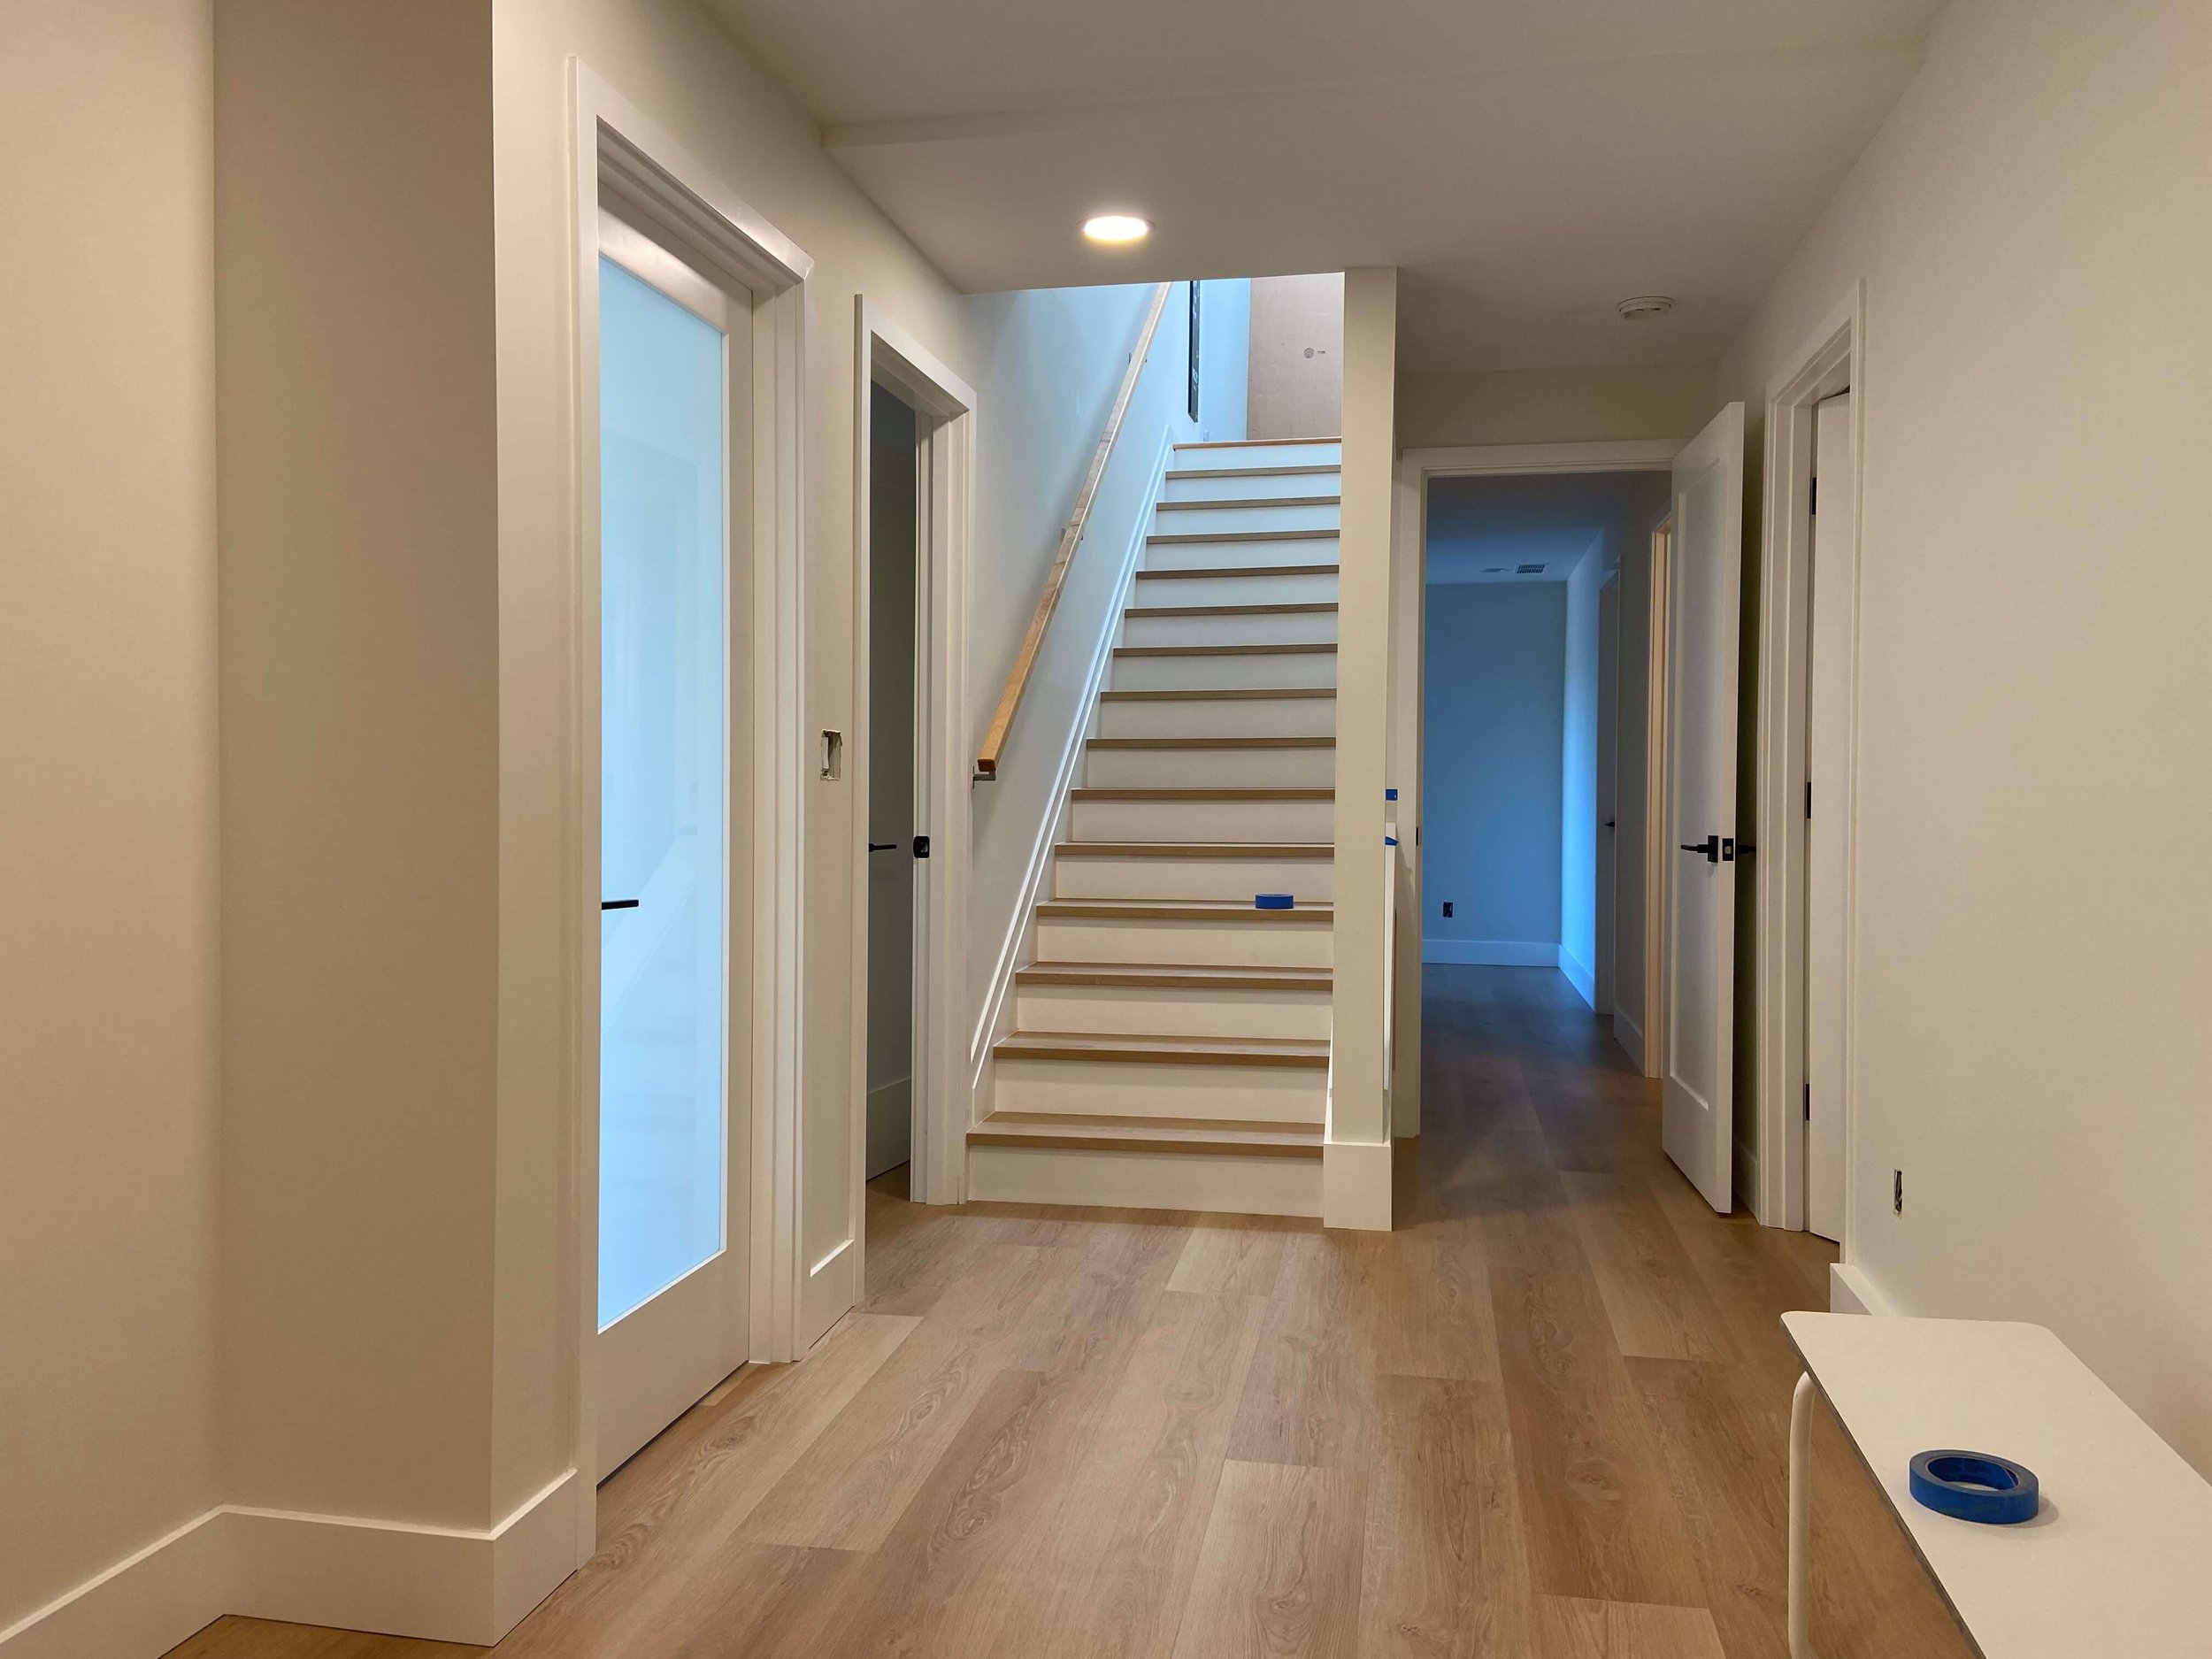
Turn an unfinished basement or dated walls into clean, finished living space. L.A. Drywall Inc. handles basement drywall installation, Level 4 or Level 5 finishing, PVA primer, and interior painting across King and Snohomish counties.
One experienced team manages the wall and ceiling scope from preparation through final paint - with a clear written proposal, professional protection, and a 12-month craftsmanship warranty.
✔ Unfinished basement drywall installation
✔ Level 4 and Level 5 drywall finishing
✔ Skim coating for outdated walls and ceilings
✔ PVA primer and interior painting
Call Now (360) 814-4207
Share a few project details and photos. We will review them and contact you about the best next step.
Tell Us About Your Basement
Tell us what you want to finish, and upload photos if you have them. Photos often help us determine whether the project can begin with a phone estimate.
Your information is used only to respond to your project request. No spam.
Planning note: complete basement wall and ceiling refinishing projects typically start at $7,800+. Unfinished basement drywall packages typically start at $9,200+.
Basement Drywall Cost and Project Fit
Basement drywall pricing depends on much more than floor area. The wall and ceiling surface, access, framing readiness, insulation, existing texture, finish level, and painting scope all affect labor and materials.
✔
✔
Total wall and ceiling surface area
Ceiling height, soffits, angles, and architectural details
✔
Stair access, material delivery path, and occupied-home protection
✔
Framing condition and drywall-ready corrections
✔
Insulation or sound-control assemblies
✔
Level 4 versus Level 5 finish
✔
Existing texture, damage, patches, or prior coatings
✔
Primer and interior paint specifications
Complete basement wall and ceiling refinishing projects typically start at
$7,800+.
Unfinished basement drywall packages typically start at
$9,200+.
These starting points are planning guides, not quotes. We confirm pricing after reviewing the basement condition, access, measurements, and selected finish. Your proposal will state exactly what is included.
Prefer to talk first? Call (360) 814-4207